The pink and red excitement of Valentine’s Day is upon me and I just had to dig through my scraps and make something. I had the vision for these raw edge heart blocks, so I went for it.
These blocks are so simple to make, and they become even more fun when you add yarns and buttons.

You can arrange them into any format you wish: a rectangular wall hanging (multiple rows), horizontal table runner, vertical wall hanging (one row), or just one for a mug rug.

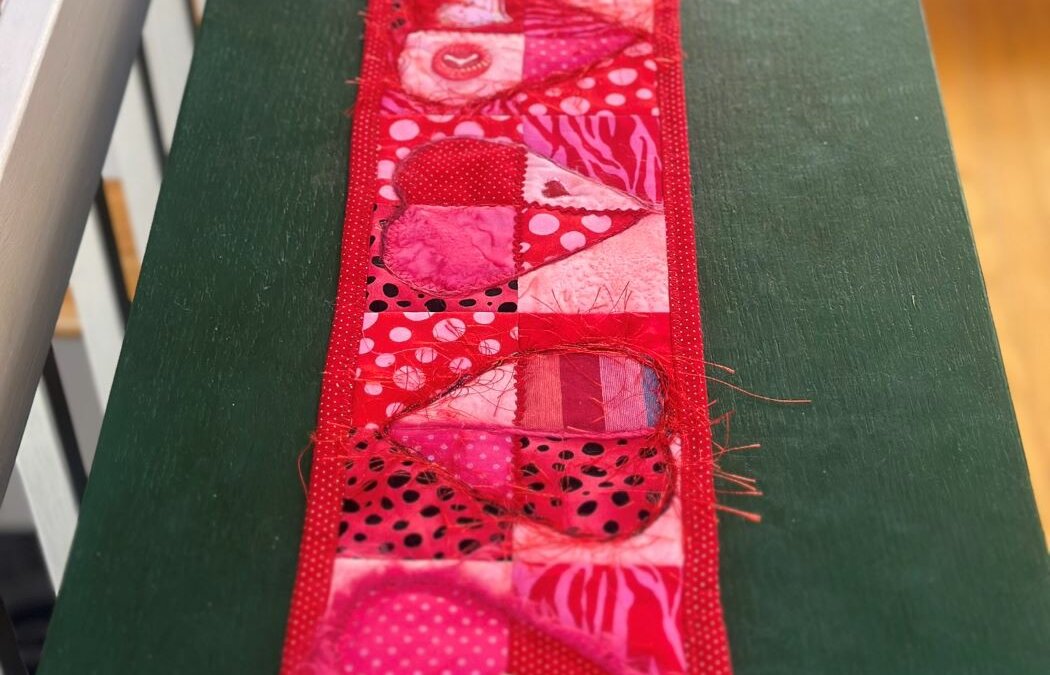
I made mine into a horizontal layout for a table runner (see below). I put the hearts both directions. This way, either side of the table you’d have a heart facing you. I guess I should’ve made the end blocks pointing out for people seated at the ends of the table. 🤔

Here’s How to Start

You need four different pink/red fabrics. The largest scrap size you will need is 6.5″ square, but much smaller scraps can be used to make the hearts.
Cut 6.5″ squares. These squares will be cut up to make four unique quilt blocks.
Next, cut the 6.5″ blocks in half horizontally and vertically. You will then have sixteen 3.25″ squares.


Then, make yourself a heart. Remember when we were little and we would make hearts in art class by folding the paper in half and tracing half a heart, then cut it out? That’s what I did.
Trim down your heart to make sure it fits within a 6.5″ square.
Then I folded the heart in half horizontally and vertically and cut each way.

Now cut out little heart pieces from your fabrics. Cut the exact size. Since this is raw edge applique, you don’t need to add for seam allowance.
Note I did not use any type of fusible, like Steam a Seam. I don’t like how stiff it makes the fabric. You can use it if you wish. It does make it easier to later sew on yarns.
Arrange your square and heart pieces the way you want for each block.
Do not worry about everything being matchy-matchy. The yarns and decorative stitching you will add later will help define fabrics from one another.
Place the top heart sections right sides together and sew down the middle (of the heart). Do the same for the bottom half. Then sew them together horizontally, nesting the seams.


As you see in the photo above, unless you fused the heart pieces in place, they will not be sewn down. You will sew these down when you add embellishments.
Iron your blocks flat and trim to 6″ square. Then, arrange all of the blocks the way you want for your final piece.
Sew them all together accordingly.
Baste the top, and get ready for decorative stitching, yarns and buttons! This is the fun part, and when your piece will really come alive.
Quilting Your Scrappy Heart Project

This is such a small piece that I basted by stitching in the ditch between each block.
Using a couching foot, I added hairy yarns.

Below are some closeups of the heart blocks. Don’t worry about making each block amazing. Some blocks may be ho-hum, but when meshed with all the others, they will all look as a striking piece.
All of the embellishing was done post-basting. Therefore, it’s kind of a quilt-as-you-go project as no additional quilting is required after adding the bling.


A final photo of this scrappy table runner was hard to a capture because it is so long and narrow, but see below for different angles. 💗If you do try one of these projects for yourself, please share with me via email!
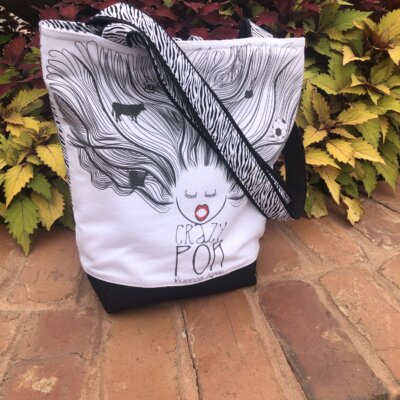
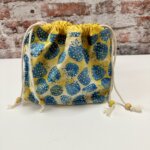
If you are looking for another Valentine’s Day project to sew, check out this post for making a Valentine Reusable Gift Bag.


Watch It on YouTube
If you’d like to see how I did it along with my dorky personality, go for it!

