When a fun, Halloweeny cross stitch piece falls in my lap, I am going to find a way to quilt it into something cool. My mom stitched this “Steampunk Penelope” by The Proper Stitcher, Halloween pattern and gave it to me, knowing I might want to sew it into something rather than spend the money framing it.🤑
No Pattern
I had something modern in mind. Whenever I am going to create something from scratch, I always give myself a few days or weeks to think it over.
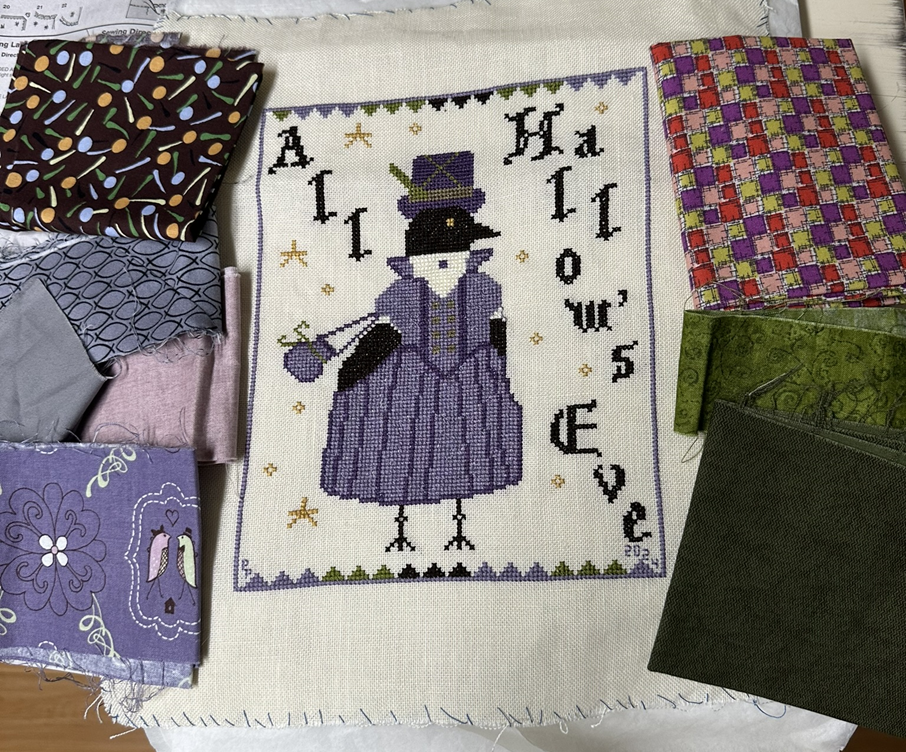
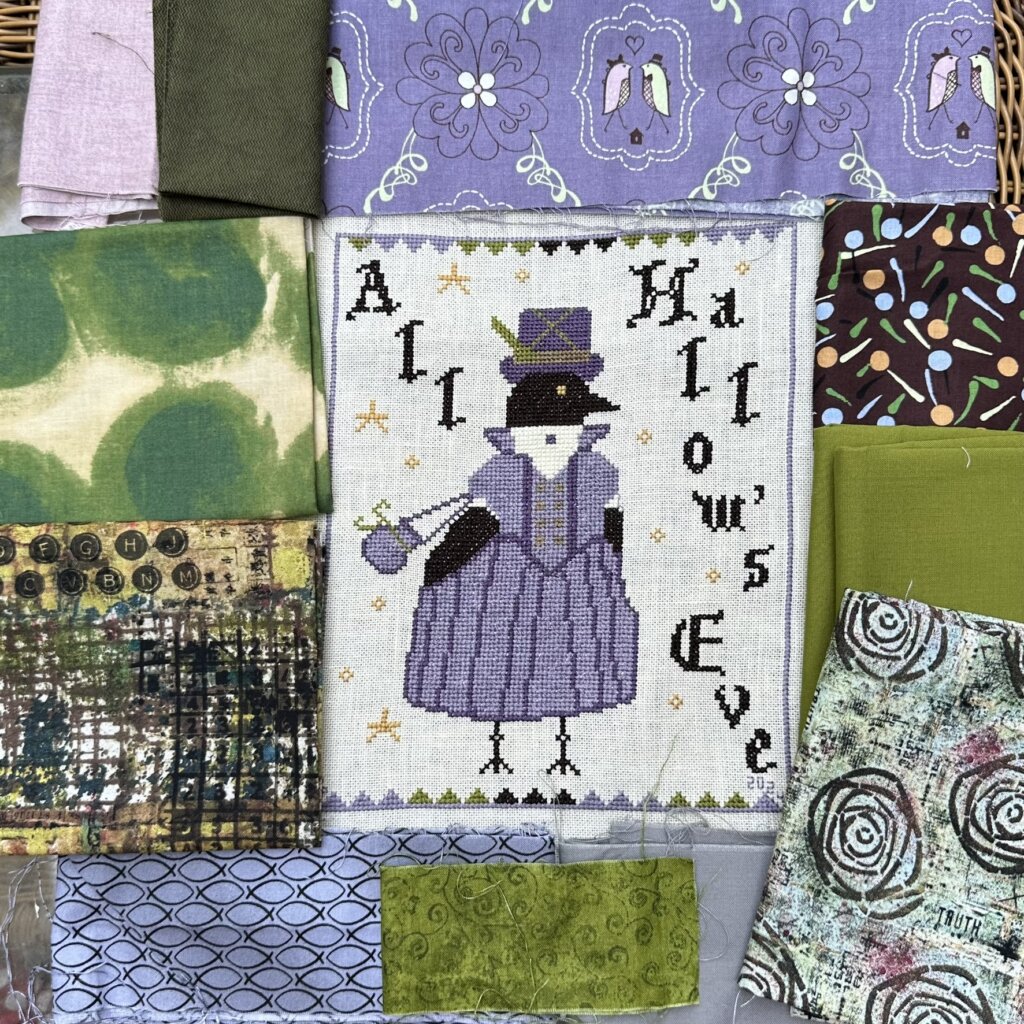
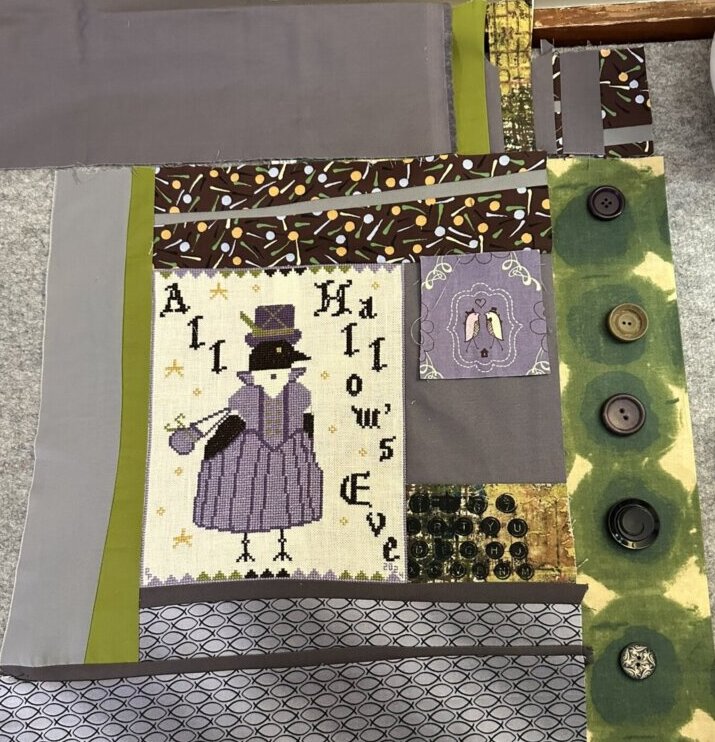
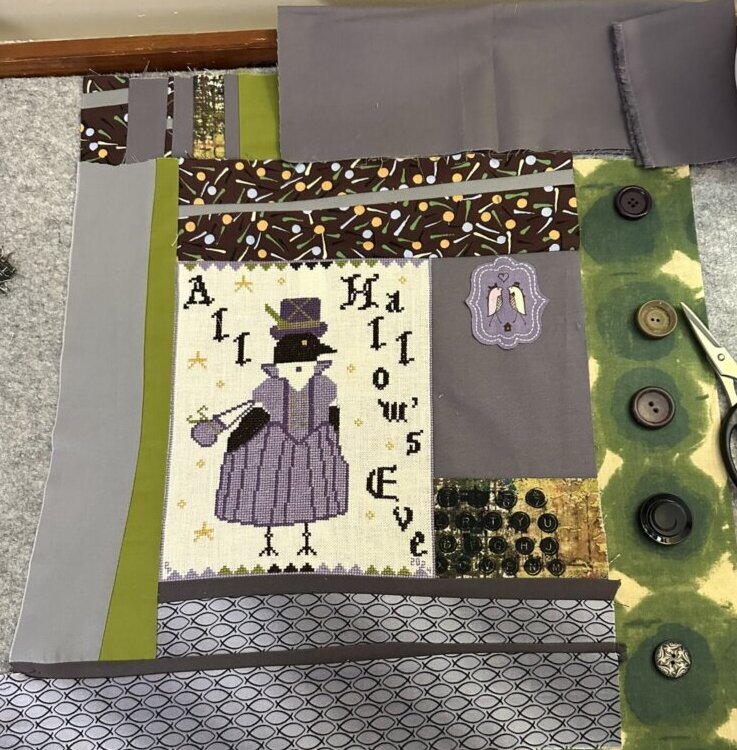
First, I will audition some fabrics to go with it. Then, I will take a picture of what I’ve come up with. I’ll ruminate over it for a while, pulling up the photo when I’m out and about, doing other things.
This gives me a chance to come back and do some more fabric pulls to refine the first draft. The second picture has more of what I ended up going with.
In this case, I had some other projects going. So I kept this project in mind for about a month. When I was ready to get to work on it, the juices were then flowing…after all, I’d been marinating on it for a while.
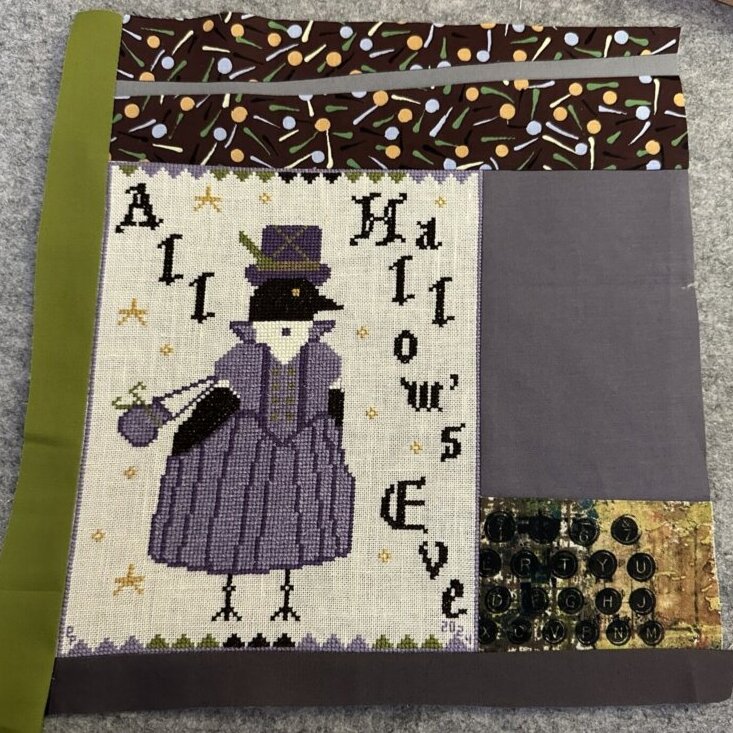
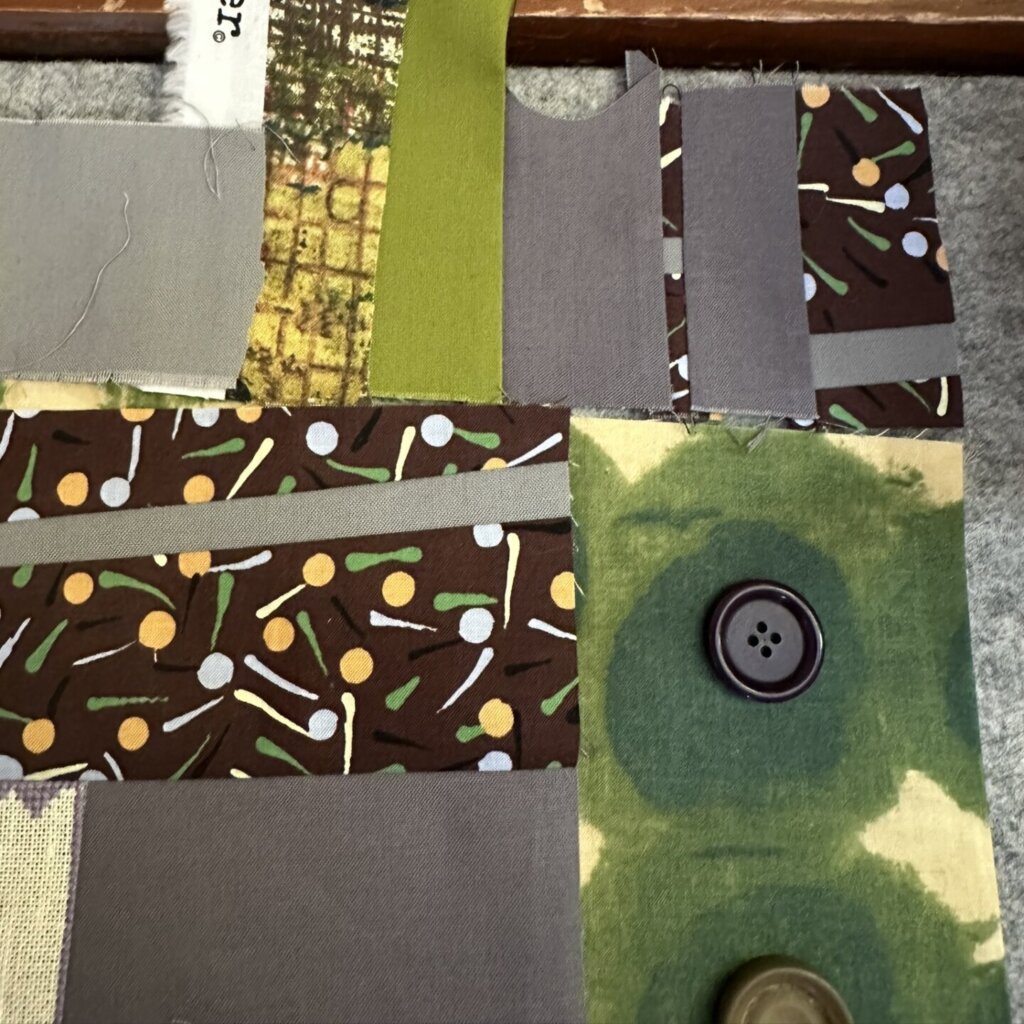
Then I started to slice and dice, and slice and dice some more. Below are the first couple of rounds framing “Penelope.”
Don’t hate me
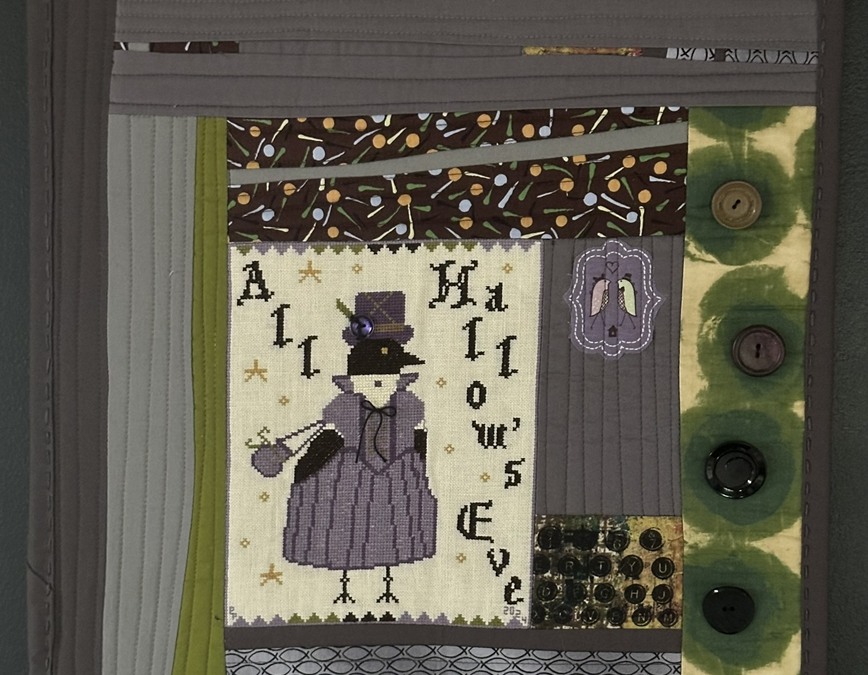
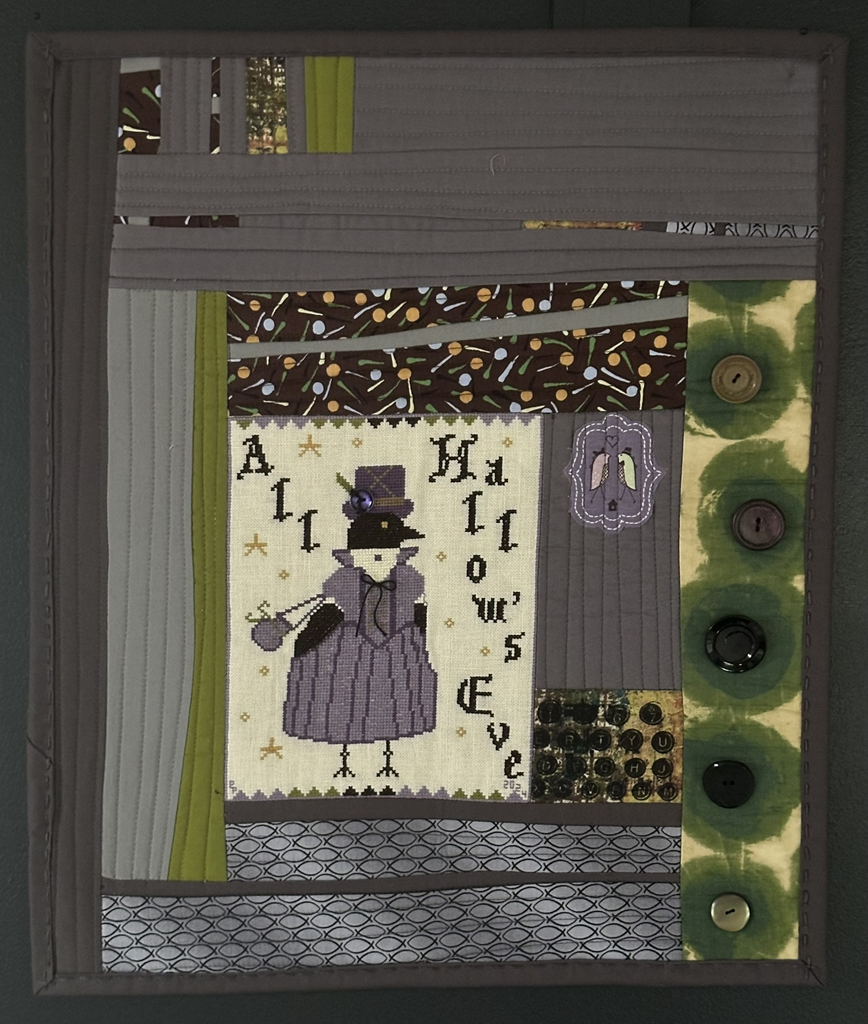
I finished this small wall hanging improvisationally pieced top in about two hours. This is how things work for me when I have a good idea of what I’m going to do, and an uninterrupted window of time to crank it out.
I knew I wanted to add some three dimensional elements. The button on the hat is a nice little pop, while the bow on the neckline was simple enough to add.
The larger green circles were calling out for buttons. This was a fun opportunity to work in some more pizazz and color play. The green all the way to the bottom helps draw the eye all the way down, balancing the top left.
The Colors
While this shade of olive green may not be my favorite, I do love how it adds that bit of contrast needed to add interest to this piece. If you look closely, you will see there is just a tad of this color in the cross stitch piece. It was fun to add this in a more prominent way in the quilted “framing” of the piece.
The rest I wanted to keep dark and steely. Adding some sort of print in my modern improv pieces is something I love to do, and really adds interest.
The little bit of typewriter fabric was intentionally placed at the bottom right of the cross stitched lettering, drawing the eye down and emphasizing that black Halloween look.
The little birds in the cage was fussy cut and just laid on top, a little glue on the points, and then quilted over to place it. I really liked this little piece and how it used the colors in the bird’s dress for a different design.
Finally, you can see how I repeated the contrasting elements by using up slivers of scraps in simple, straight line piecing up top.
The Quilting
Adding thicker threads with big stitch quilting is a great way to add texture to any quilt, especially a wall hanging. Here, I used it to secure the binding to the front, with little Xs in the corners.
The rest of the quilting is simple, clean lines in coordinating threads. It’s simple and fast.
Does this piece make you want to look closer?
That’s always my hope, to draw the viewer in. Whether you like how this one turned out or not, it sure is interesting.
Comment Below
Have you ever worked cross stitch pieces into quilting? I would love to hear about it in the comments below. 🙂
Hire Me!
Did you know I provide virtual and in-person programming for quilt guilds, shows, shops, and retreats? Send me an email or recommend me to your program chair to open a dialogue. I would love to hear from you!
