Are you like me, and every time you go to make a quilt you wonder how this will look on the bed? How much overhang? If you add or takeaway a border, how will that compare to the mattress size? I find myself constantly looking up standard quilt and mattress sizes, just to have a reference.
So much so, that I created my own visual reference guide to share with you here in this post. I think you’ll love it!
There is certainly no defined “right” size to make a quilt. They can be rectangle, square, or even cattywampus (like some of mine, ahem).
Industry standard mattress and batting sizes give us a place to start. Before I go on, take a look at the chart here.👇🏻⬇️

Now keep in mind, an industry standard quilt size does not mean you must adhere to that. However, if you want to use your quilt on a bed, as opposed to draped over a couch or hung on a wall, it is important to reference the mattress size and plan accordingly.
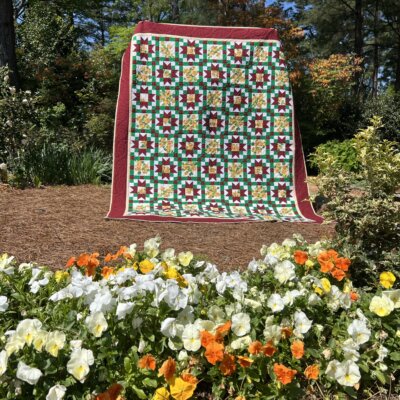
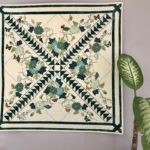
To the right is the Ventanas quilt pattern.
You can purchase it here.
Many quilt patterns state the quilt size itself, instead of listing it as “twin,” or “crib.” This can be because perhaps the design of the quilt doesn’t lend to an industry standard size. This is why I like to have this chart on hand to reference to mattress size.

Another point to consider is the style of the bed you are making the quilt to rest on. If it is a quilt meant to be in a crib, consider that there won’t be any overhang. A sleigh bed wouldn’t lend itself to show off the bottom edge of the quilt. In this instance, you may be able to use a square shaped quilt.
Some antique quilts were even made with a pillow foldover, while others were made with borders only on two opposite sides to accommodate the bed style and size.
Trending Products

If you find a pattern you love, but isn’t quite large enough for the bed you want to use it on, there are a couple of ways around this.
First, you could add a border, or two, or three! Measure the overhang you need to have for the style of the bed, and determine how much more you’d need to add to the quilt.
For example, let’s say you need five extra inches on each side. Measure around the quilt and add up all four sides. Divide that number by 42 (the rough width of most fabrics) to determine how many strips you will need to cut. Multiply that number by 5. Then, you will have the amount of fabric you’d need to purchase.
Mathematical example:
Quilt measures 63″ x 74″
63+63+74+74=274÷42=~6.5 round up to 7
You’ll need to cut 7 strips 5.5″ wide for the border width to include seam allowance.
Therefore, you need to purchase 38.5″ of fabric, just over a yard. I’d probably purchase 1.25 yards.

Love this quilt? I offer it as a workshop.
Check it out here.
Love the baby? He’s mine all mine. (Although some days I’d be willing to loan him out for a few hours.😉)
Another way to make a quilt larger than the stated pattern is to add a row of blocks to the side and/or the bottom. You would have to do your own estimation for additional fabric and cutting calculations, but I have done this many times and always had good results.
Would you like to download a copy of The Essential Quilt & Mattress Size Comparison Chart?

